Environment Setup
Some of the tutorials on this website are provided for various combinations of programming languages and IDEs. Based on your preference, setup one of the following development environments on your machine:
- Node.js & VSCode
- .NET & VSCode
- .NET & VS2022
Command-line interface
Command-line interface, a CLI, is an essential tool when developing modern web applications.
It is often used to initialize new projects, handle their dependencies, or to manage their
source code. Different operating systems have their own options (for example, in Windows there's
the Command Prompt and PowerShell,
and Unix-based systems have all sorts of shells)
but in our case we're going to be using bash which is available cross-platform.
- On Unix-based systems,
bash(or one of its flavors likezsh) is most likely available already, and if not, you can get it from https://www.gnu.org/software/bash. - On Windows, you can install Git for Windows which comes bundled
with a
bashterminal
Source code management
Another essential part of the modern software development, especially for web, is the source code
management tool git. Go to the Downloads
section, and install the latest release for your platform. As mentioned in the previous section,
the Windows installer comes with the bash CLI as well.
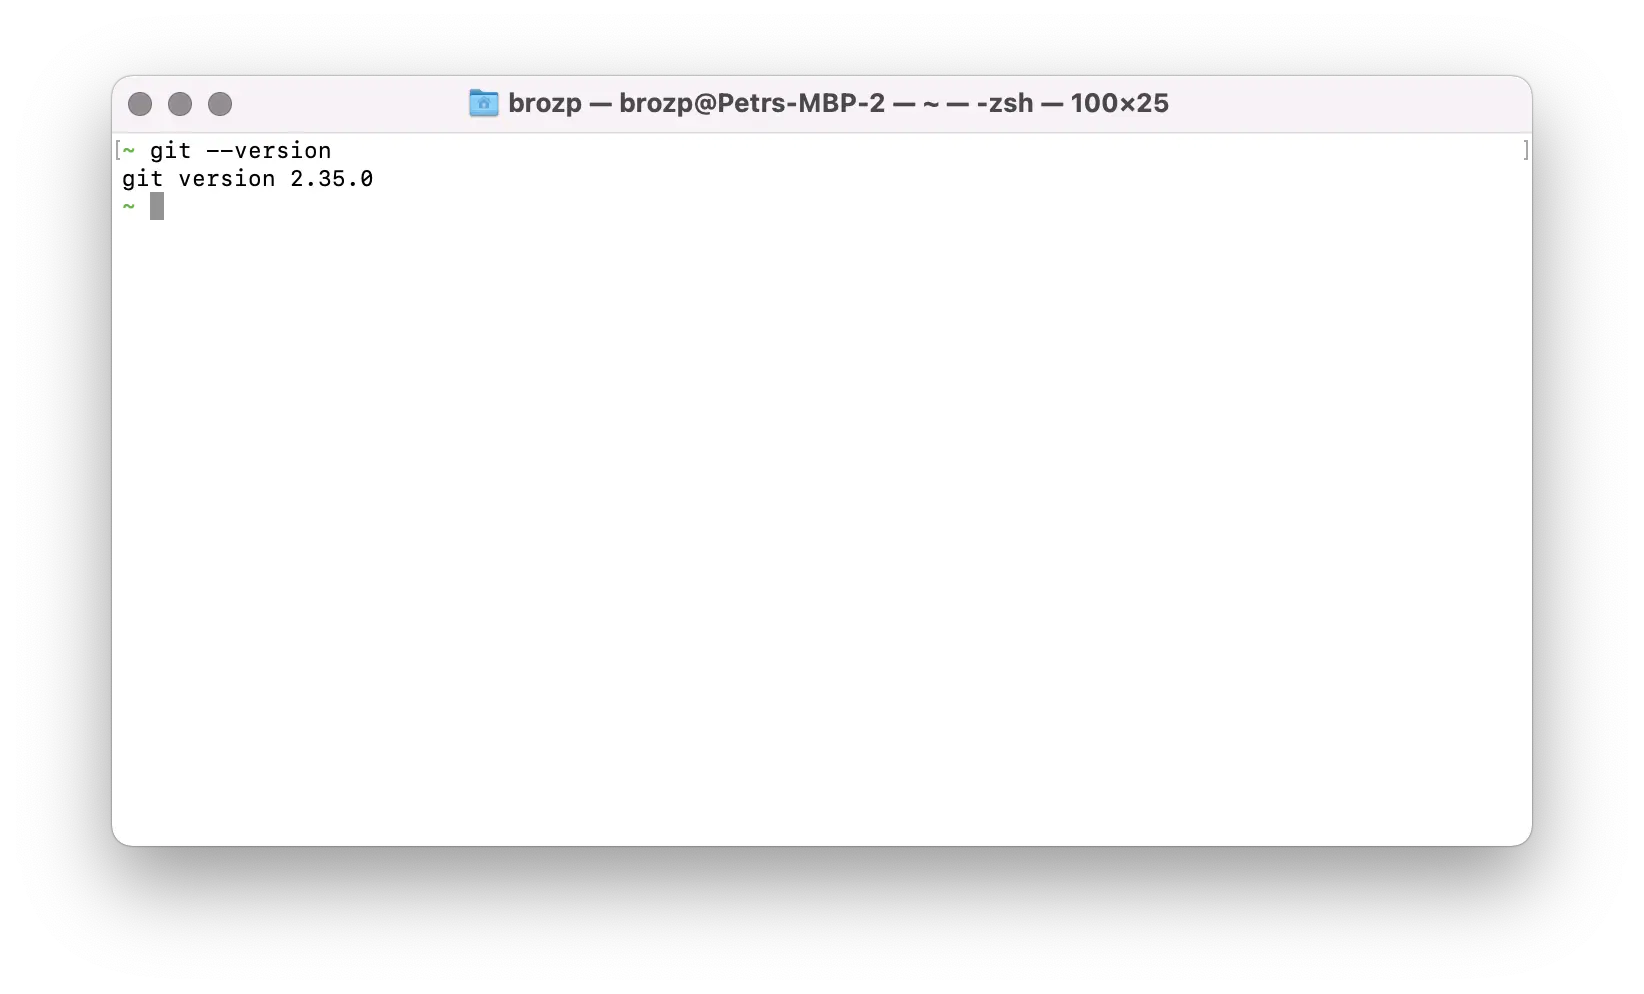
To check whether git is installed and available, try running the following command in bash:
git --version
You should see something like this:
Runtime
We will also need the Node.js runtime to run our code, and the Node.js package manager, NPM, to manage 3rd party dependencies. You can get an installer for your platform on https://nodejs.org/en/download which will install both.
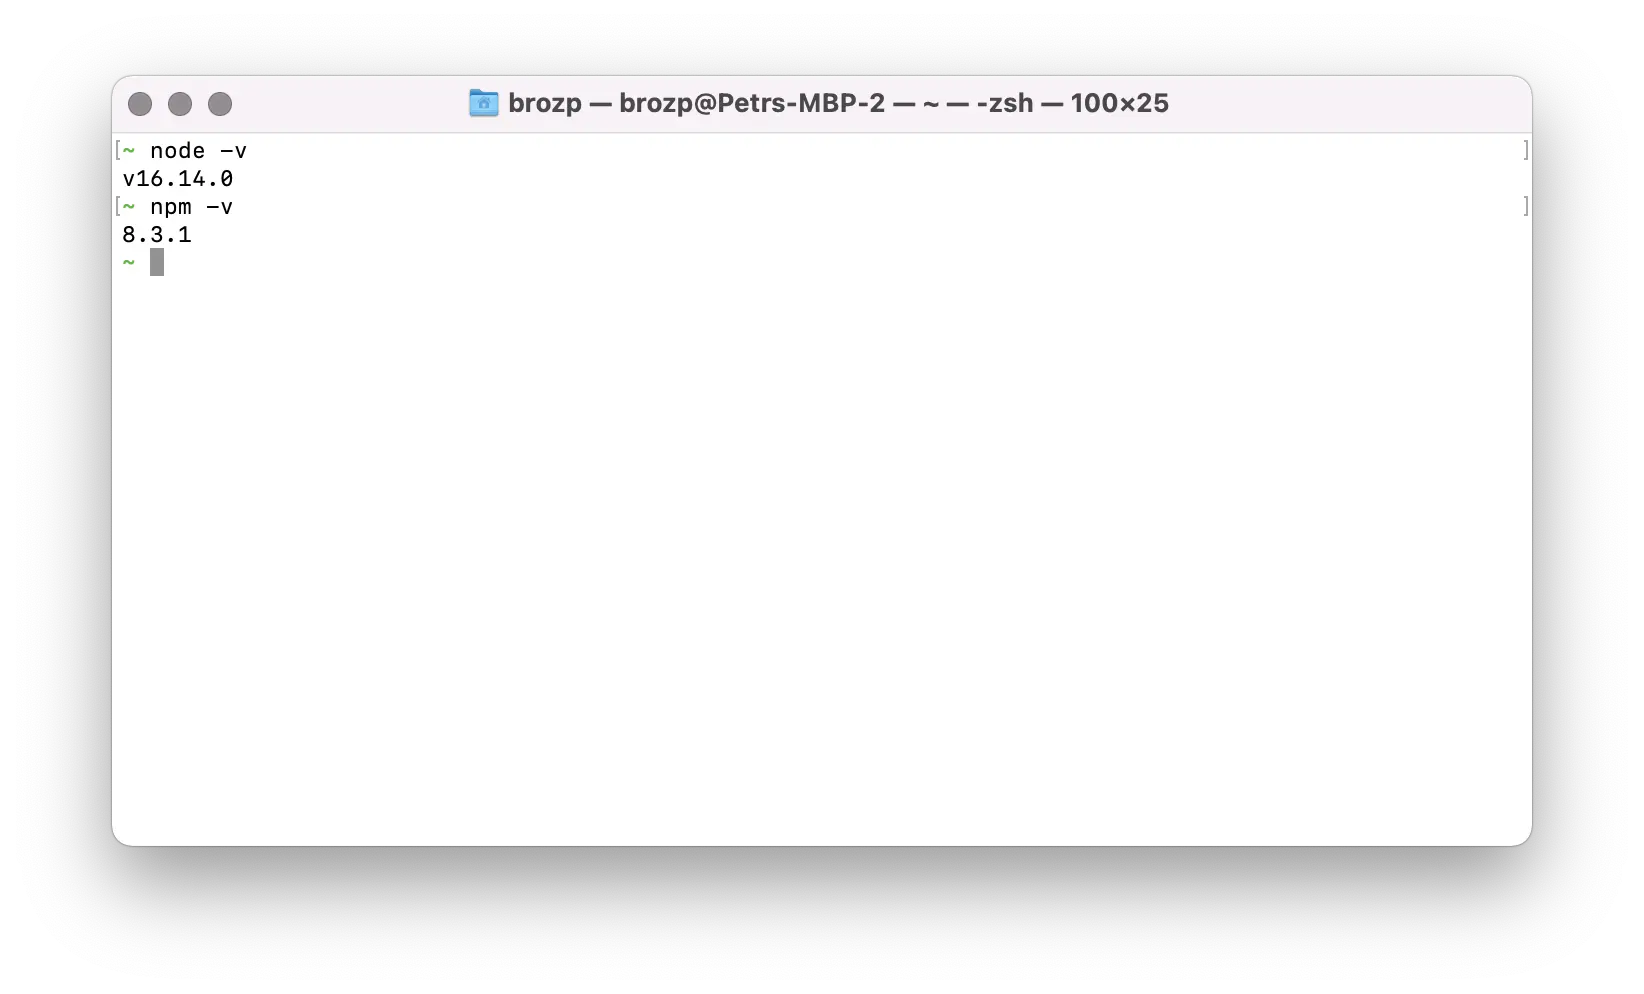
To make sure the tools are available, try running the following two commands in bash:
node -v
npm -v
You should see something like this:
Editor
For the coding itself you're welcome to use whichever editor you like the most. If you're looking for recommendations, we recommend Visual Studio Code as it is free, cross-platform, fast, and packed with lots of great features. Simply install the latest stable build for your platform.
We've built an extension for Visual Studio Code that provides insight into some of the APS services and data directly from the editor: Autodesk Forge Tools. This could be useful when debugging your own APS applications.
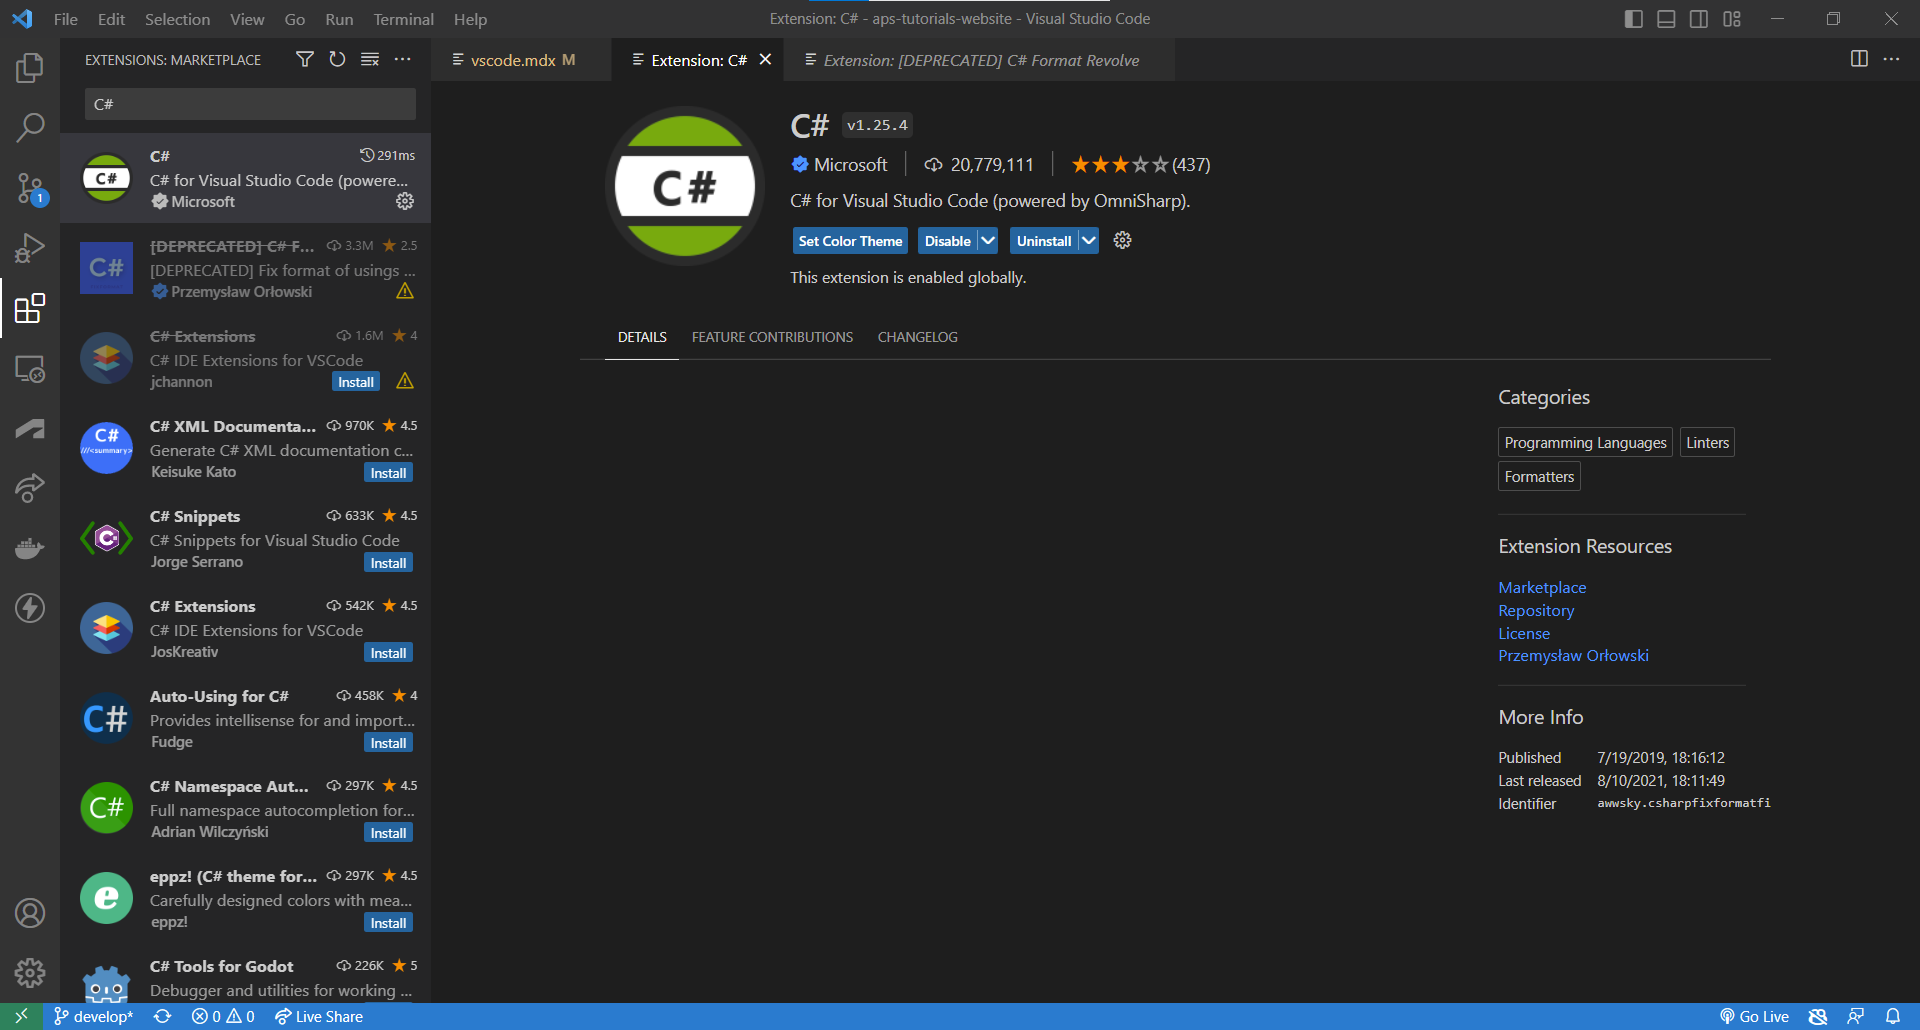
Then you need to install C# Extension (if don't have it yet) for Visual Studio Code. To install, click on extensions tab on the left sidebar of your Visual Studio Code, then search for C# and click install as shown in the image below.
This extension is used for developing web applications in C# in the Visual Studio Code editor: C# Extension. This could be useful when setting up and debugging your own APS applications.
Command-line interface
Command-line interface, a CLI, is an essential tool when developing modern web applications.
It is often used to initialize new projects, handle their dependencies, or to manage their
source code. Different operating systems have their own options (for example, in Windows there's
the Command Prompt and PowerShell,
and Unix-based systems have all sorts of shells)
but in our case we're going to be using bash which is available cross-platform.
- On Unix-based systems,
bash(or one of its flavors likezsh) is most likely available already, and if not, you can get it from https://www.gnu.org/software/bash. - On Windows, you can install Git for Windows which comes bundled
with a
bashterminal
Source code management
Another essential part of the modern software development, especially for web, is the source code
management tool git. Go to the Downloads
section, and install the latest release for your platform. As mentioned in the previous section,
the Windows installer comes with the bash CLI as well.
To check whether git is installed and available, try running the following command in bash:
git --version
You should see something like this:

Runtime
We will also need the .NET runtime to run our code and manage 3rd party dependencies. You can get an installer for your platform on https://dotnet.microsoft.com/download/dotnet/8.0.
Our sample applications have been developed and tested with .NET 8.0.
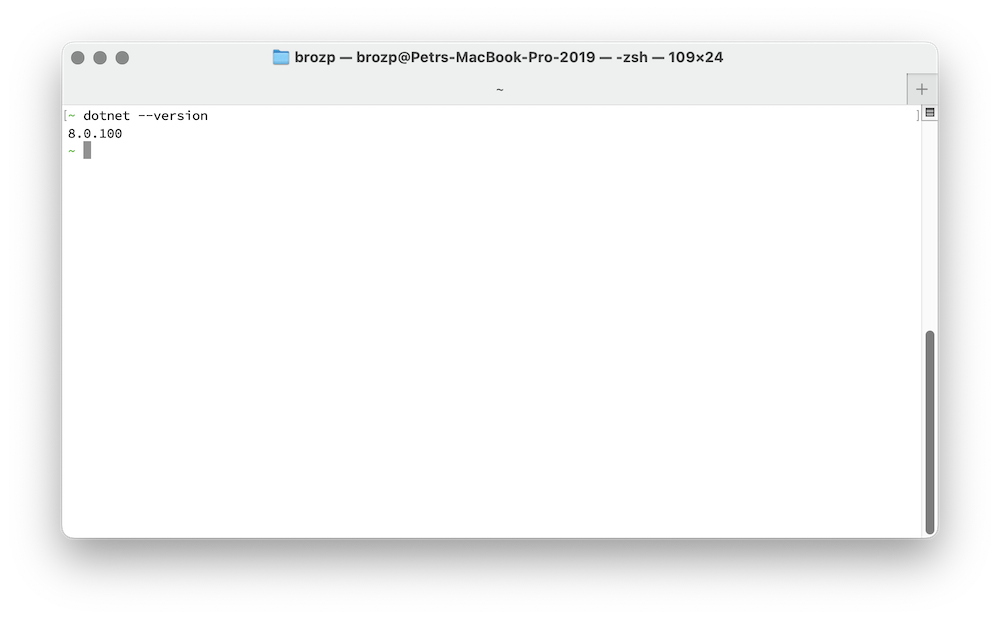
To make sure the tool is available, try running the following command in bash:
dotnet --version
You should see something like this:
Editor
For the coding itself you're welcome to use whichever editor you like the most. If you're looking for recommendations, we recommend Visual Studio Code as it is free, cross-platform, fast, and packed with lots of great features. Simply install the latest stable build for your platform.
We've built an extension for Visual Studio Code that provides insight into some of the APS services and data directly from the editor: Autodesk Forge Tools. This could be useful when debugging your own APS applications.
Then you need to install C# Extension (if don't have it yet) for Visual Studio Code. To install, click on extensions tab on the left sidebar of your Visual Studio Code, then search for C# and click install as shown in the image below.
This extension is used for developing web applications in C# in the Visual Studio Code editor: C# Extension. This could be useful when setting up and debugging your own APS applications.

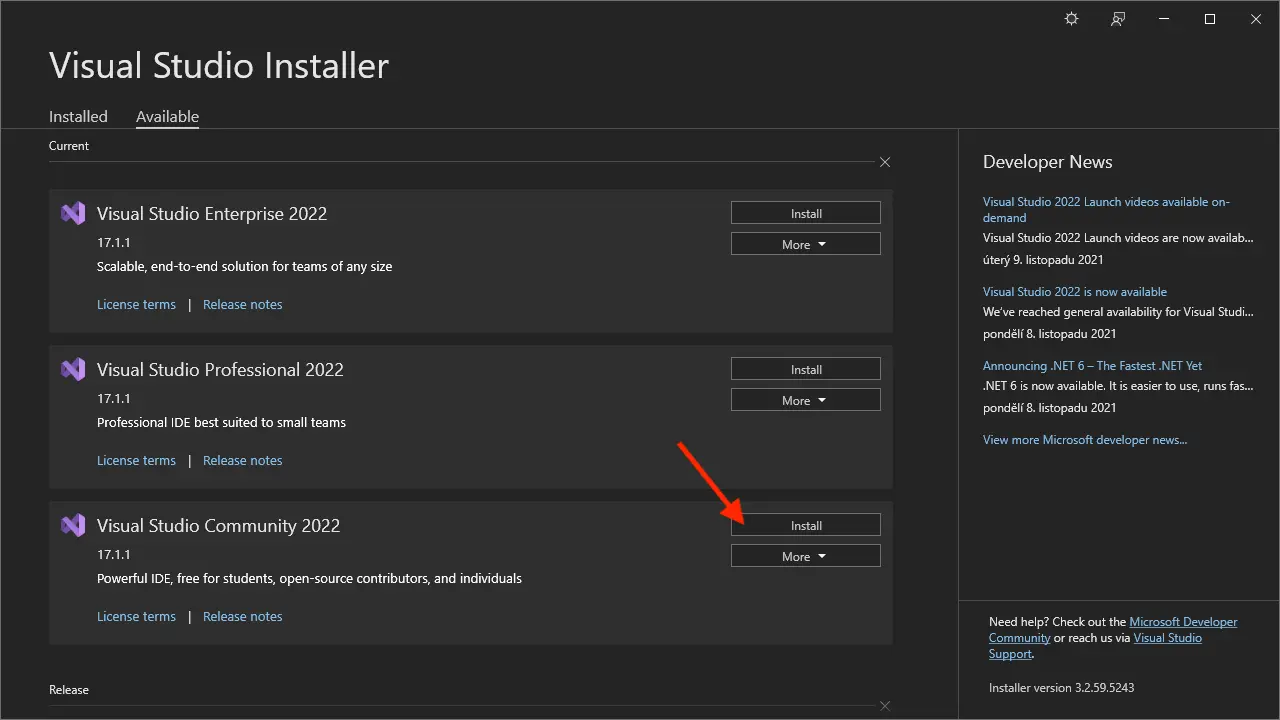
In our tutorials we will be using Visual Studio Community 2022. You can download Visual Studio Installer from here, and then install the desired version and edition of Visual Studio from the installer application:
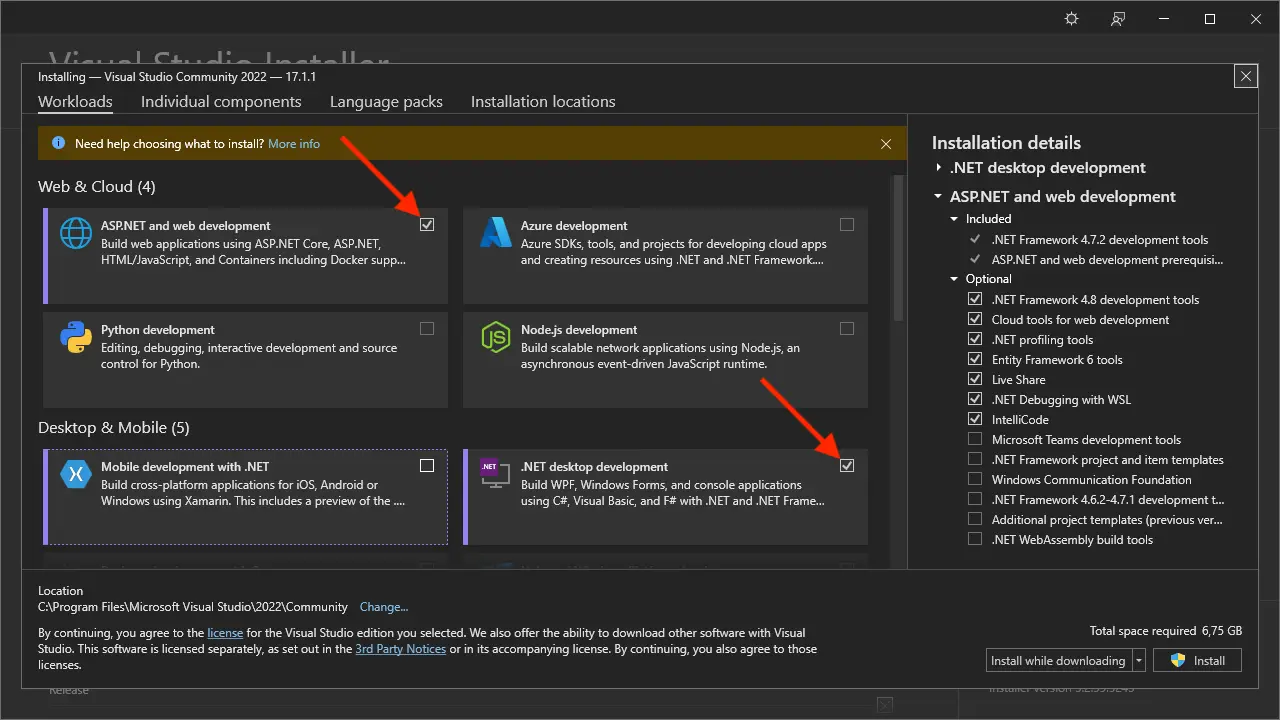
Make sure to include the ASP.NET and web development component, and consider including the .NET desktop development component as well if you plan to develop plugins for desktop applications such as Revit or Inventor.
And you're all set. Now head over to one of the tutorials and let's code!